Process
- Charge the ACH/CC within the 3rd Party Processor's website.
- Confirm the charge went through and fully processed within the 3rd Party Processor's Website.
- Log into the RMA application.
- Go to Transactions>Payments>Local Payments>Mail Payments.

- Click the "Add" button to create a new record.
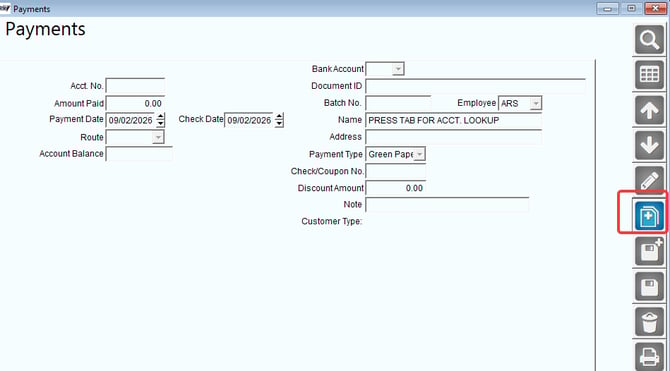
- Enter in the account number for the payment you just processed within your 3rd Party Processor site.
- Input the payment amount and payment type for the transaction.
- Input the payment date the payment was taken.
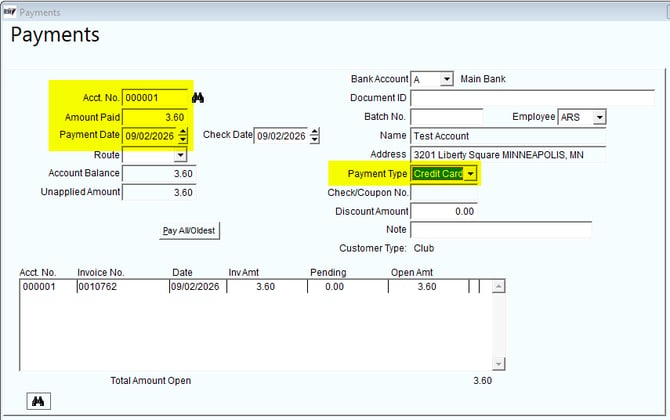
- Input a Document ID if there is a specific document from the 3rd Party Processor that you want to reference for this payment. If not, leave blank.
- Input a Batch No. for this payment if there is a Batch No. you want to reference from the 3rd Party Processor. If not, leave blank.
- Continue to fill out any additional fields such as Discount Amount, Note, Check/Coupon No., etc. if applicable to that specific payment record.
- Once done, you will need to select the invoice that the payment should be applied to in the bottom screen by double clicking on the invoice.
- Once selected/applied, it will reflect the amount applied to that invoice under the "Pending" column.
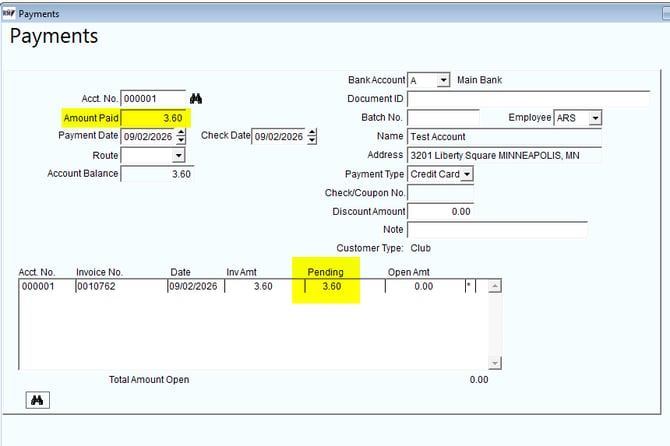
- If everything looks correct, save the payment record.
- After saving, go into Customer Information and locate the account.
- Click on the customer's Invoice tab and select the month you created the payment for.
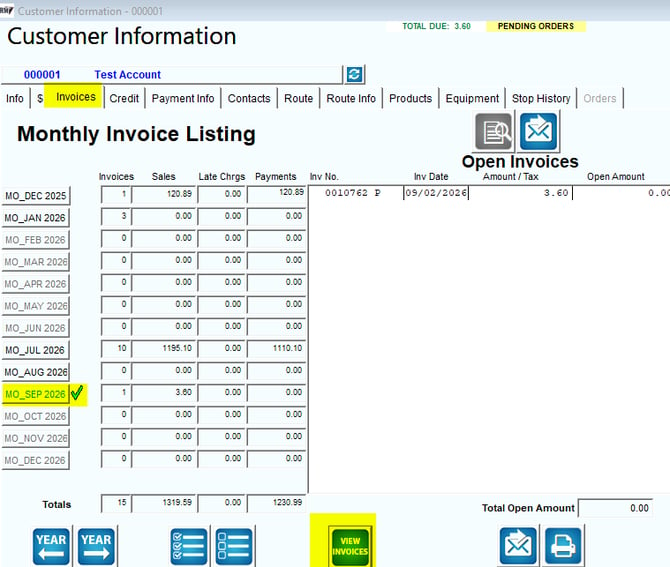
- Click View Invoices and you should see the payment with an Aesterisk * next to it showing that is has not been posted yet.
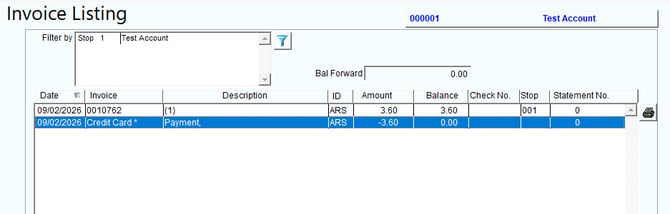
- You will then need to go into the Posting window to post the Payment record.
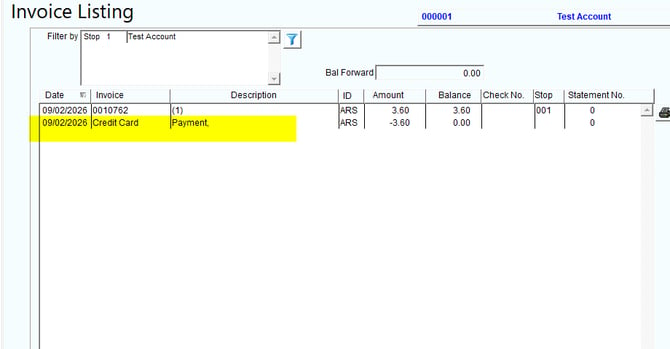
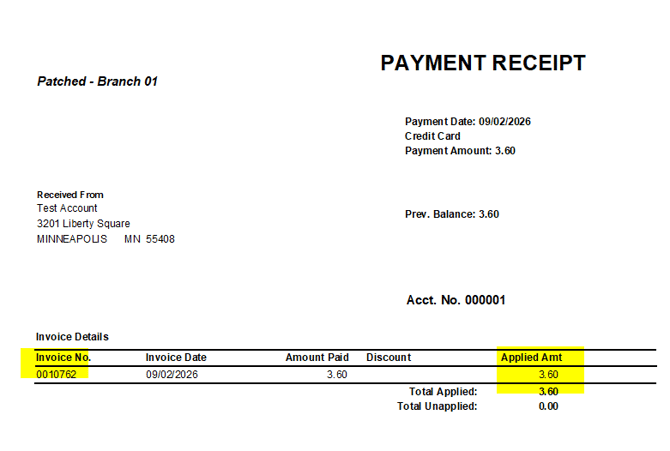
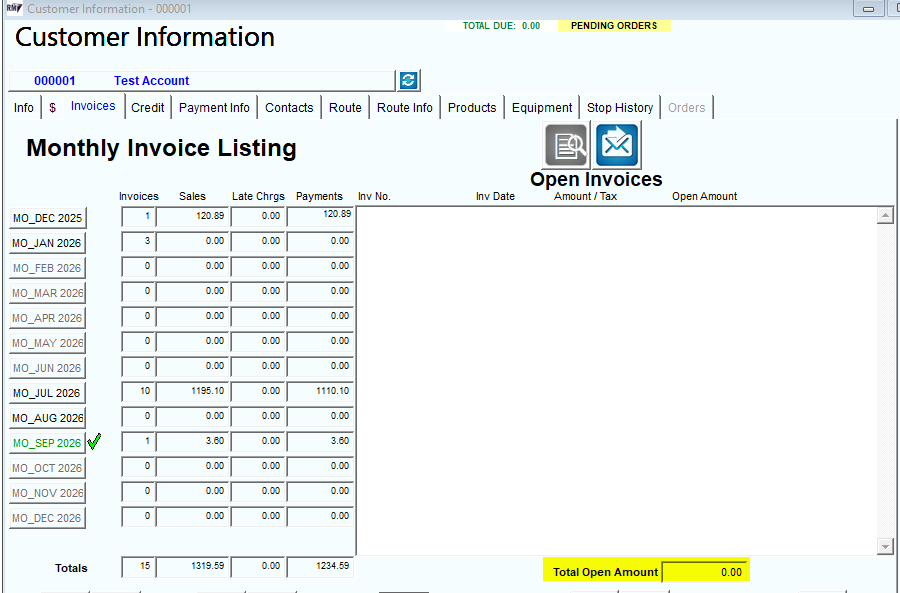
- Once Posted, the Aesterisk will remove from the payment record and the new account balance should reflect on the Invoices tab.