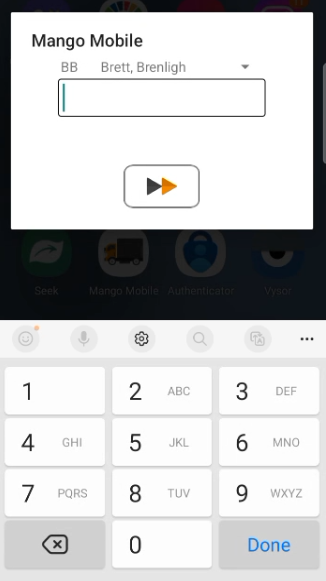
Upon launch of Mango Mobile, a login screen will appear which will allow access to the Main Menu.
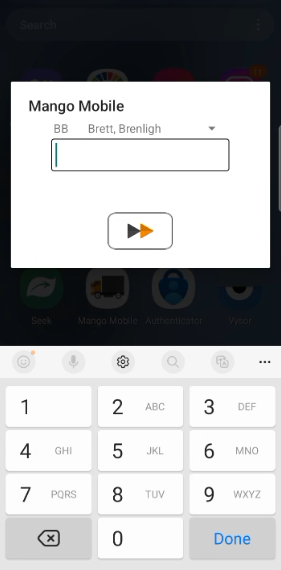
Name: The name of the driver assigned to this route will appear in this field by default. To select a different driver, tap on the arrow next to the driver’s name and select the correct driver from the available list.
Password: Use the on-screen keyboard to enter the password. For security purposes, as you type your password, the digits will appear as asterisks on the screen.
If a mistake is made, press the backspace key on your keyboard. Tap the Black/Orange Arrow on the screen or the Login/Done key on the keyboard to log in. If you were not assigned a password, simply press the Login button to continue.
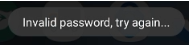
When an incorrect password is entered an error message will appear:
NOTE: Passwords are assigned by your administrator on the desktop. Assign a password under Lists>Employee Setup> Employees, on the Information tab.
Main Menu Screen
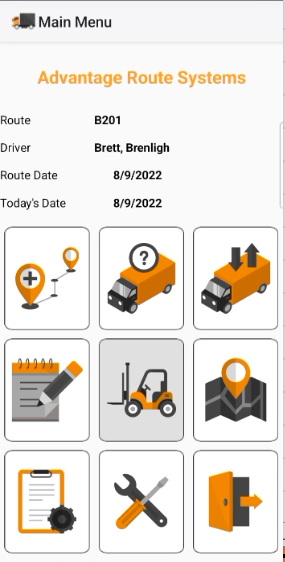
The Main Menu screen provides access to all of the features within the handheld program. As you complete each function, you will return to this menu to make another selection.
There are eight options available on this screen. Each button will be explained in detail throughout this chapter.
 Stop Selection
The most extensive area of the system is accessed through the Stop Selection key. This feature allows you to:
- Sell items to customers.
- Look at customers’ stop information; including, bottles on hand, date started, etc.
- Review customers’ purchasing history.
- Delivery to off-route customers.
- Provide reasons for non-delivery.
- Receive payments from customers.
- Perform other helpful operations and functions such as; collect credit card authorization information, service equipment, provide invoice history.

For further information on how to service a customer and create an invoice, CLICK HERE.
 Truck Status
The Truck Status screen allows you to access a current list of all products on the truck without having to manually inspect the vehicle. When a product is sold, the quantity sold is automatically decreased from the truck inventory, so an accurate count is maintained by the system.
Each product is listed in the order that it was input from the host computer. Products are sorted either by code or alphabetically by product name, along with the quantity of remaining product. This information is “View Only” and cannot be modified in this screen.
 Print: Select this key to print a listing of the information displayed.
 Equipment: To view the Equipment on the truck, select the E.

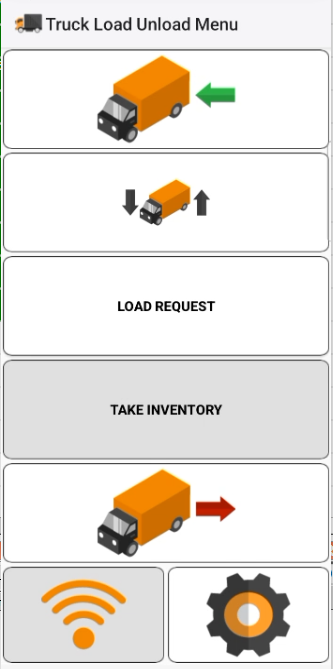
 Load / Unload Truck
The Load/Unload Truck function allows you to carefully track inventory as it is added to or removed from the truck and/or at the beginning and the end of the day.
To track inventory, the driver loads the truck in the morning before leaving on route and checks back in the load upon returning to the office or warehouse. The software will lead you through this process. The general process is to start at the top of the screen and work down through the items displayed.
 Sales Notes
The Sales Notes screen allows the driver to write notes during the route. This allows the driver to record his notes about the day without assigning it to a specific customer or route.
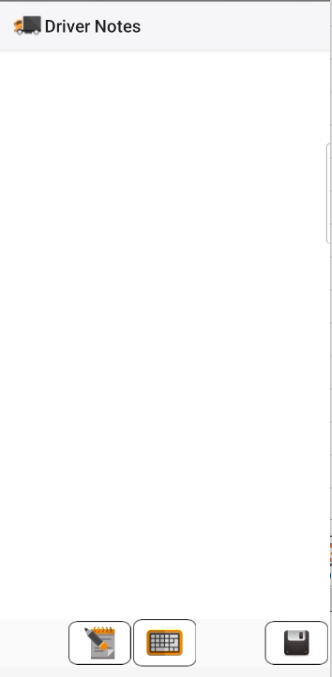
Using the stylus or a finger, the driver can write a message within the bordered area of the screen.
 Clear: The Clear option allows the driver to delete and re-enter or re-write the note from scratch.
 Keyboard: The Keyboard option may be used instead of the stylus or finger option to capture longer notes or notes that need to be more clearly entered. (This is a toggle key; it will switch to the stylus/finger entry icon when in Keyboard mode)
 Save: The Save option will save any Driver Notes entered on the handheld to the desktop.
Figure below, is a copy of a printed NOTE:

These notes can be printed on the desktop system during the afternoon transfer function ONLY.
NOTE: Typically, the area is used for driver notes, not for customer information. Customer notes are entered from the customer’s Quick Entry screen. When the customer notes are uploaded, they are stored in the customer’s account.
 Mapping Button
This button is used to integrate your handheld software to maps. This is also used alongside Mango Mapping.

 Language
Currently, this button allows you to select the language for your handheld. The available dropdown allows for selection of the languages available.
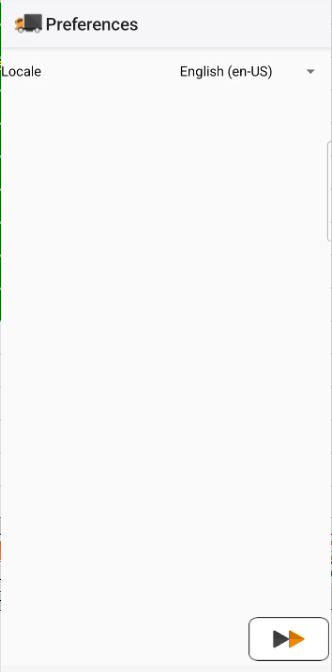
 Continue: The Continue option allows you to save and continue back to the Main Menu.
 Utilities
The Utilities screen displays diagnostic information for your reference. Our technical support team may ask you for the version number from this screen. Scroll through the list to view all of the items that are available to you. To return to the Main Menu, press the Back key.


 Support: This button will send the system logs to our support team allowing further review of the activity occurring on the handheld device that may be having issues.
 Bluetooth: The Bluetooth option will allow the configuration of Bluetooth devices with the handheld device.
 Exit Program
During the day (between distant stops or at lunch) and particularly at the end of the day, you may wish to turn the handheld off. When you select the EXIT key, you will be returned to the Login screen. Select the Back button on your device to continue exiting the program.