Introduction
The purpose of this function is to enable geo-coding to be an organic process that occurs as your drivers service each customer. We're going to be taking a look at how to setup this function, as well as what outcomes to expect.
Setup
- Navigate to Lists > Routes > Handheld Class.
- Select the Handheld Class that you would like to enable this on.
- Navigate to the Hardware tab.
- Click Modify.
- Check the Auto Capture GPS on Invoice checkbox.
- Click Save.

Note: Modify is represented by the Pencil icon on the right, and Save is represented by the Floppy Disk icon on the right.
Process
After invoicing the customer on the handheld, the following screen will appear while searching for a GPS Signal:
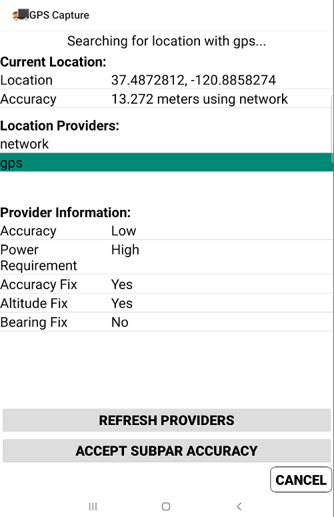
Once a GPS Signal is found, the handheld will record the driver's current coordinates and close the GPS Capture screen.
WARNING: This process will capture the coordinates of the driver's location at the time of invoice. Please ensure that the drivers are aware that they MUST invoice the customer AT the customer's location for this function to work properly.
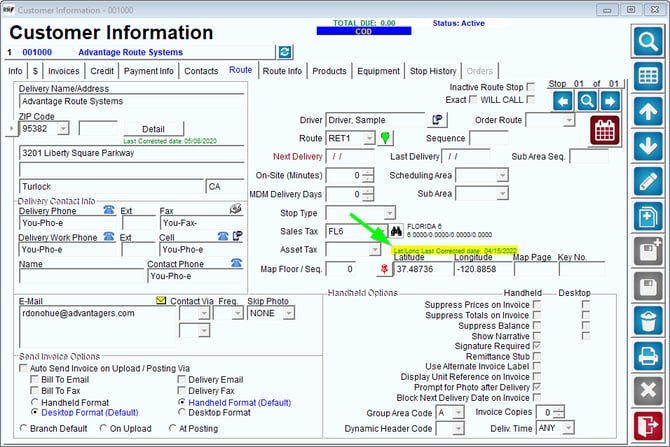
After the driver has uploaded their route for the day, the customer's latitude and longitude will be updated. You can review this new Lat/Long by going to Lists > Customer Information > Route tab.
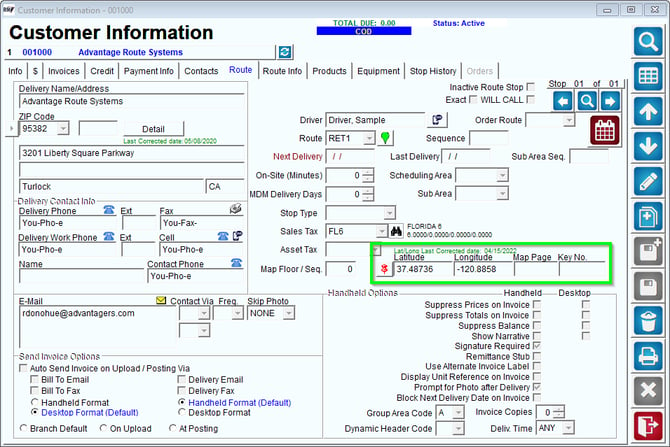
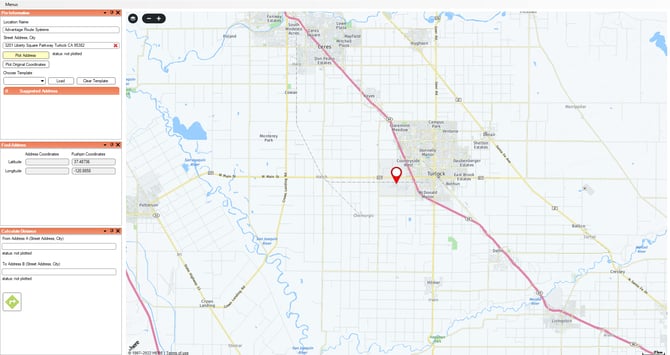
If you click the red pin shown above, then you will see the location of that customer, as recorded on the handheld, in our Mango Mapping module:
The Lat/Long Last Corrected date will help give insight to when the Lat/Long was last captured and can be a helpful tool in determining if the customer was recently Geo-Coded.