Introduction
This article will define how to setup the commission process, and introduce you to the Route Commission and Sales Commission reports. It is important to note that all commissions are calculated based on the products sold on each invoice.
Setup
When going through the setup, your commission will start to report from that point moving forward after posting. You will not be able to go back for prior dates to review commission from a period before you setup the commission class codes on a product.
Commission Class Codes
Commission Class Codes are used to define the types of commissions that will be paid to your employees, and can be found under Lists > Employee Setup.
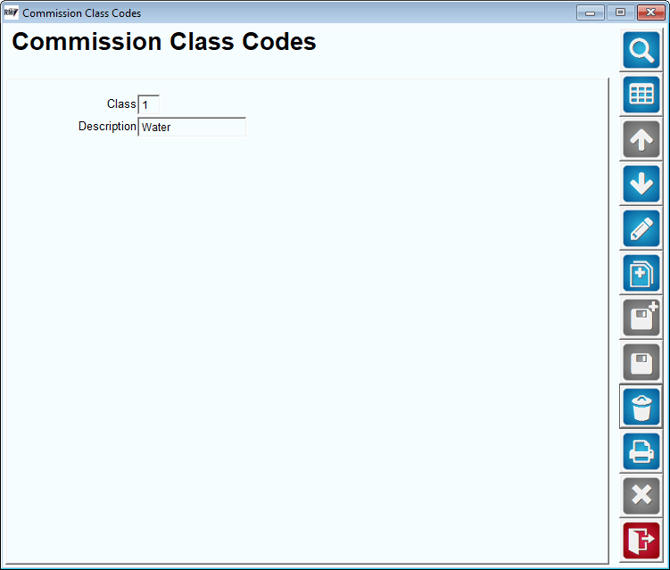
Establish a single character code and description for the type of commission that will be used. Repeat this step for each Commission Class Code needed.
Establishing Commissions on Products
After your Commission Class Codes have been created, it is necessary to assign each code directly to the product that qualifies for the commission. Do note, that once
Pull up a commission based product under Lists > Product Codes > Product Charge Codes, and select the Accounting tab.
In Modify mode, select the desired Commission Class Code from the drop-down list, and click Save.
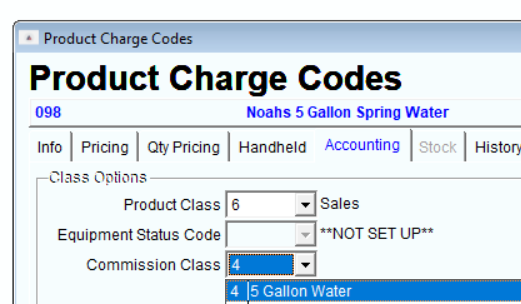
Repeat this step for each commission based product.
Applying Commission Rates to Employees
Once the Commission Class Codes have been assigned to each commission based product, it is necessary to establish the classes and rates that will apply to each employee individually.
Navigate to Lists > Employee Setup > Employees, and click on the Commissions tab.
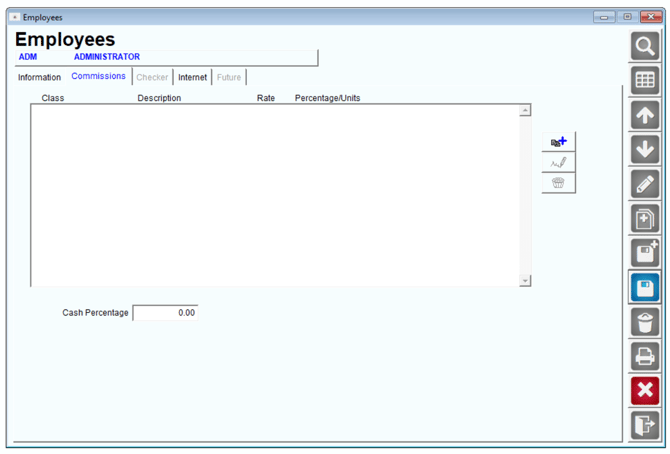
In Modify mode, select the Add key, and assign the desired Commission Class Code to the employee from the drop-down list.

Additionally, enter the rate of commission as a percentage, or flat rate amount, in the ‘Rate’ field. Also, select whether the rate is calculated as a Percentage or Unit (dollar amount per), per item:
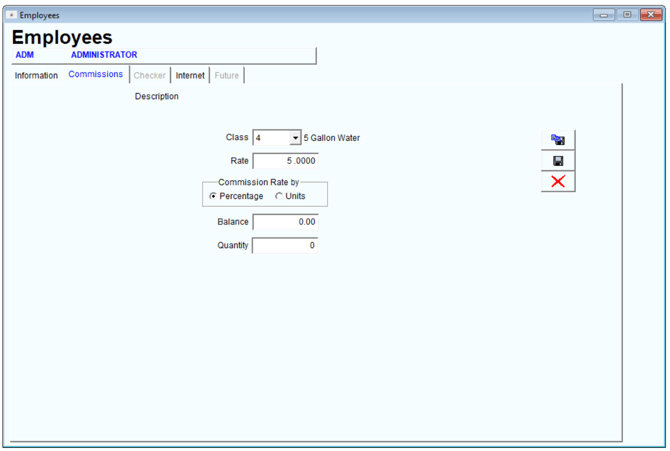
NOTE: When using the Percentage option, a 5 % commission is entered as ‘5.0000’.
Click Save to add the commission to the employee. Repeat this step if the employee qualifies for more than one commission.
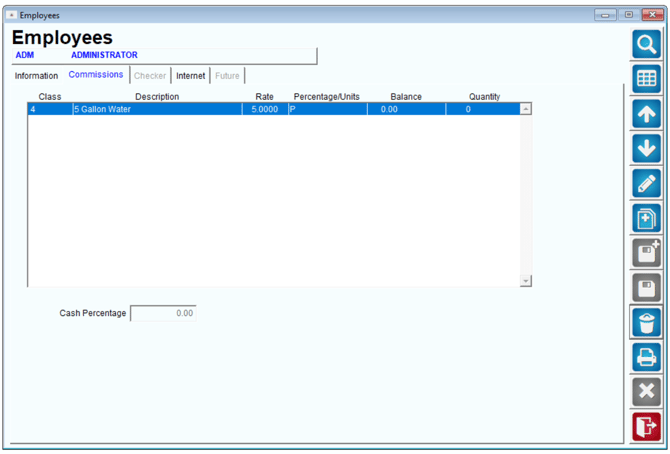
NOTE: Each employee can be assigned to multiple commission classes and rates, giving you more flexibility.
Reporting
Route Commission Report
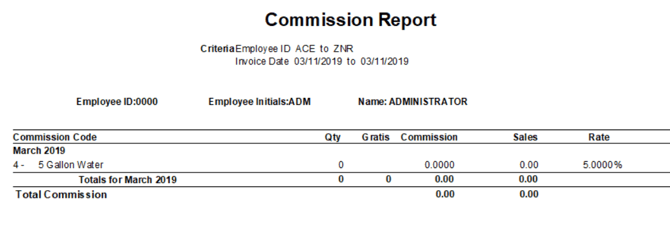
The primary report for employee earned commissions can be found under Reports > Management Reports > Route Commission Report.
This will report commissions since the time that you setup your commission class codes on products. If you recently setup a commission class code, it will not go back to prior periods to report when the class code was not setup.
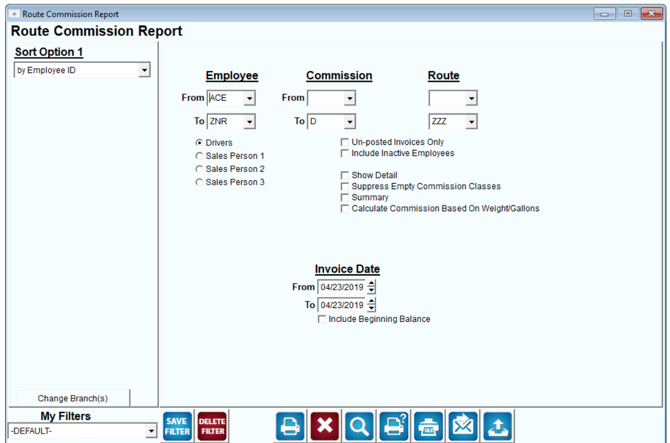
- Drivers
- Sales Person 1
- Sales Person 2
- Sales Person 3
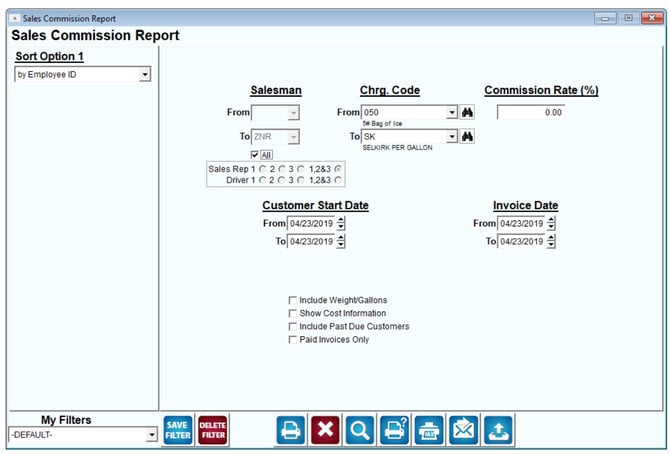
Sales Commission Report
If your company pays commission to sales reps assigned to each account, this report can be used to calculate commissions based on the percentage entered manually for a given date range.
The Sales Commission Report can be found under Reports>Management Reports>Sales Commission Report.